
✓ Independent damp & condensation guidance ✓ Cause-before-treatment approach ◎ UK guidance · local help · useful products
Problem guide

Plumbing leaks

Plumbing leaks can create sudden or persistent damp patches. Location, pressure use and plumbing routes help narrow the source.

SignsChecksGuideNext stepsUseful products

What usually points toward plumbing leaks?

Look for a combination of clues rather than relying on a single stain, smell or moisture-meter reading.

01Localised stain or damp patch
02May worsen when water is used
03Possible ceiling damage below bathrooms

Checks worth making first

These checks help separate likely causes and reduce the risk of paying for the wrong treatment.

See investigation guides
1

Check visible pipework and fittings

Use this as evidence alongside location, timing, weather and room conditions.

2

Watch the water meter if appropriate

Use this as evidence alongside location, timing, weather and room conditions.

3

Isolate appliances where safe

Use this as evidence alongside location, timing, weather and room conditions.

Plumbing leaks: what to know

Answer first

A plumbing leak is worth ruling out when damp is localised near a bathroom, kitchen, radiator, pipe run or room below plumbing — especially if it does not track the weather.

What to check first

  • Check visible joints, wastes, appliance hoses and sealant lines for active leakage.
  • Compare water-meter readings when all outlets are off if you suspect a hidden supply leak.
  • Look at the room or pipework directly above a ceiling patch.

What not to assume

Do not start damp-proofing work until an obvious or plausible plumbing source has been excluded.

Sensible next step

Repair the leak, remove persistently wet damaged material where necessary, and allow the construction to dry before redecorating.

Evidence & reviewDampDeck reviewed this guidance on 3 September 2026. UK government guidance says damp and mould should be addressed by identifying and correcting the underlying moisture cause; surface mould removal alone does not prevent recurrence.UK Government source →
Recognise the pattern

The clues that matter most

Use several clues together rather than treating one mark, smell or meter reading as proof.

1

Check visible joints, wastes, appliance hoses and sealant lines for active leakage.

2

Compare water-meter readings when all outlets are off if you suspect a hidden supply leak.

3

Look at the room or pipework directly above a ceiling patch.

Do not assume

Do not start damp-proofing work until an obvious or plausible plumbing source has been excluded.

Best next step

Repair the leak, remove persistently wet damaged material where necessary, and allow the construction to dry before redecorating.

Compare the lookalikes

Could it be something else?

These routes help separate common causes that can create similar visible damage.

DampDeck Shopping Centre

Useful products for this stage

Only products that support the investigation or an appropriate fix are shown here. An active leak or building defect still needs repairing.
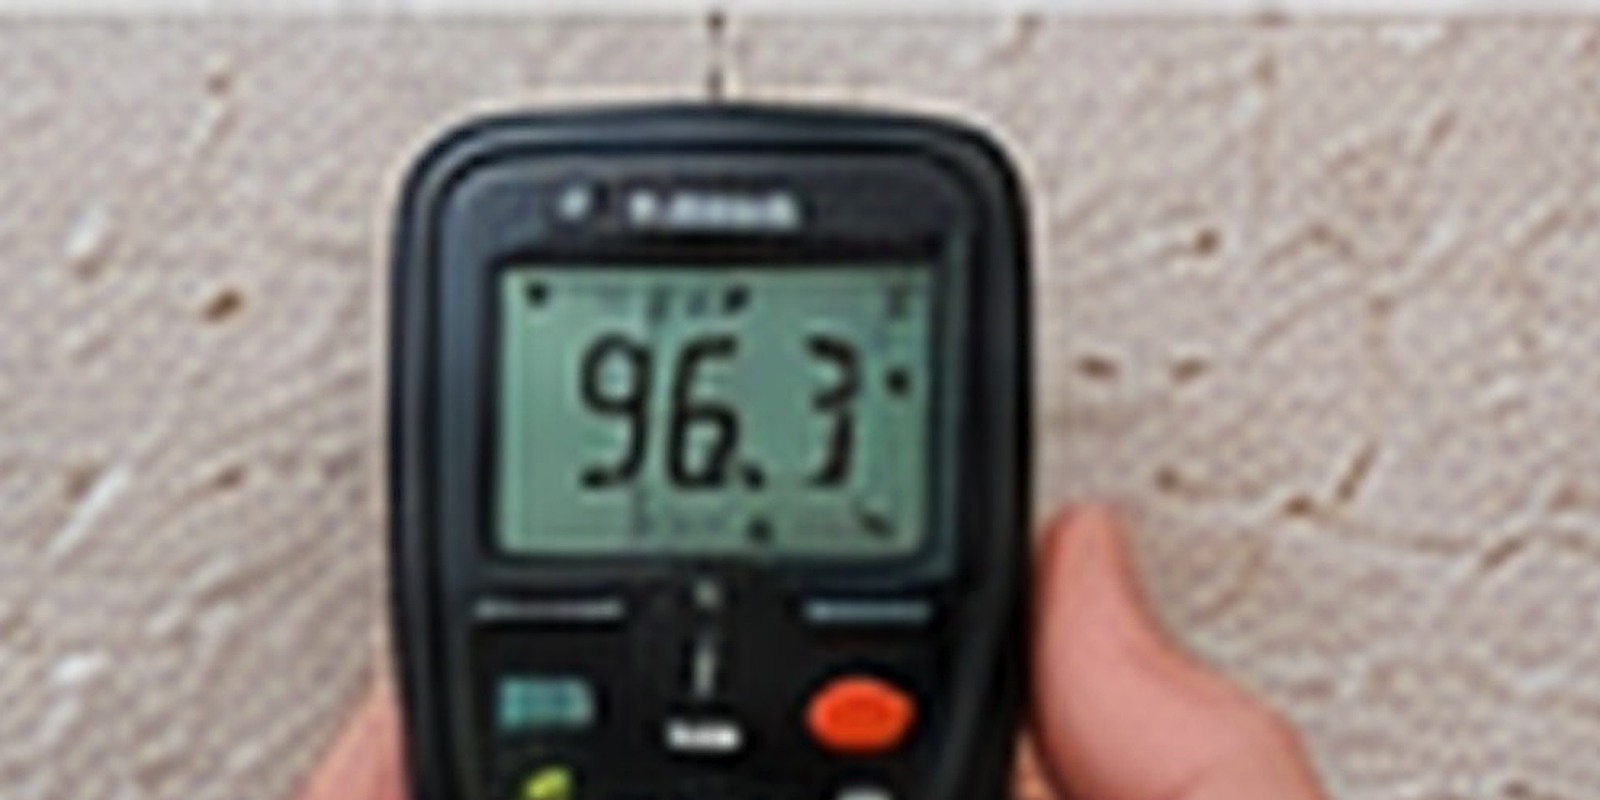
From symptom to sensible action

Products that may help you investigate or control the problem

Products should support diagnosis or moisture control — not replace repair of an active leak or building defect.

Open Shopping Centre
Relevant to Plumbing leaks

Useful diagnostic tools

DampDeck only surfaces products that make sense for this stage of the investigation. Products do not replace diagnosis or repair of an active leak.

DampDeck may earn commission from qualifying purchases or referrals.

Need a professional?

Find the right specialist for the likely cause.

Search by town or postcode once you have narrowed the moisture source.

Find specialists